METMAX
Automatic 3D optical evaluation and measurement software
"What do I measure?" not "How do I measure?"
This is the central idea behind MetMaX, the operating software for the µCMMy Infinite Focus G6 micro-coordinate measurement system. Thanks to this evolution, users do not need any specific knowledge of metrology to make robust measurements with the coordinate measuring machine. MetMaX contains all the necessary knowledge on how to acquire and evaluate 3D data. Knowledge of how to best capture and evaluate 3D data is part of the software.
MetMaX redefines the role of software in measurement by offering:

How MetMax works
When the CAD data set for a component is loaded and aligned, operators can use a simple mouse click to select which GD&T or PMI (Product Manufacturing Information) parameters to measure. MetMaX automatically configures the ideal measurement strategy for an optimized 3D measurement of the part. The software automatically calculates probing directions, tilt, rotation angles, and offset paths in XYZ. Before the measurement starts, a virtual simulation ensures a collision-free measurement sequence. The measurement is initiated by the operator with a click and is fully automated. After the 3D measurement is finished, the data is automatically analyzed. If, for example, shape deviations have to be checked, the µCMM equipped with the MetMaX software chooses which geometric shape (cylinder, plane, sphere, etc.) should be adapted.
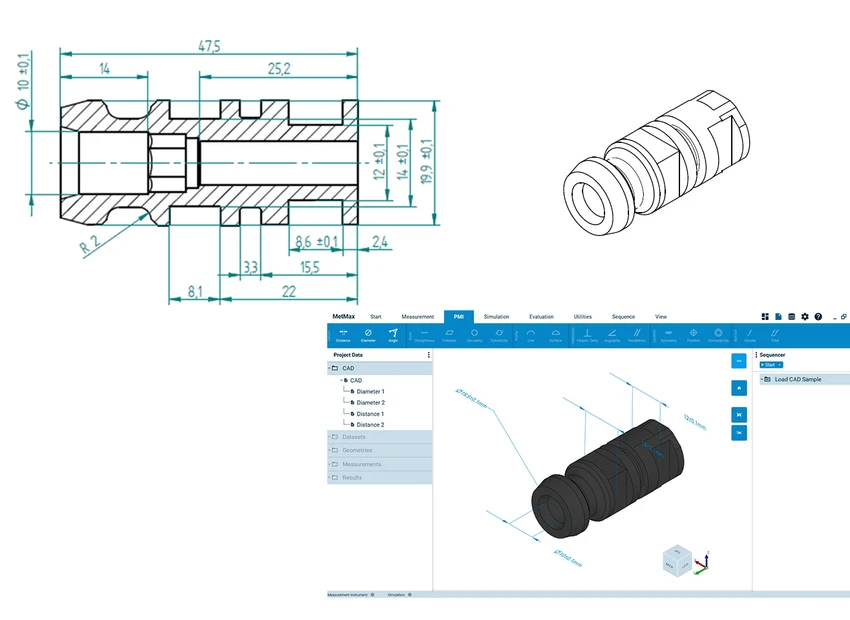
STEP 1 and 2
The dimensioned technical drawing of a component to be checked and the CAD data set of the part to be measured are loaded into METMAX.
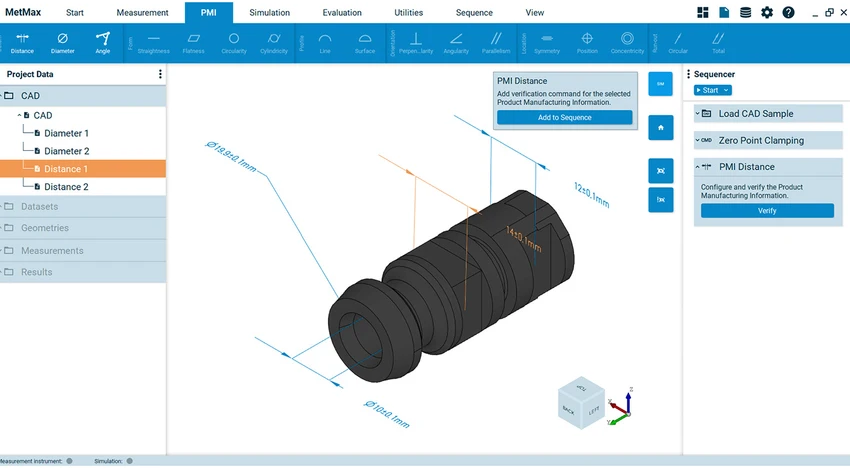
STEP 3
The user selects the appropriate GD&T or PMI feature.

STEP 4
Both the measurement and the evaluation of the 3D data are performed automatically. METMAX indicates when the specifications are out of tolerance.
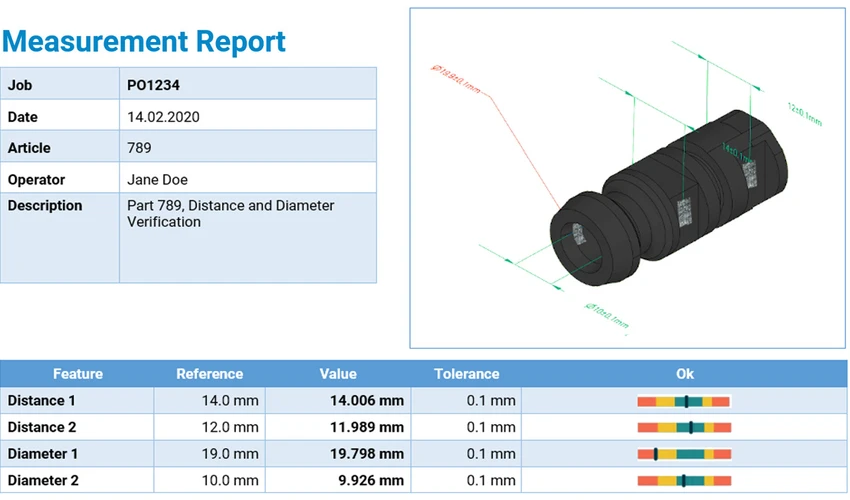
STEP 5
Reports can be easily configured based on specific user criteria.
"In our opinion, measuring systems must not only be able to measure components with the necessary precision, but also to record and evaluate data at any time and regardless of the operator's knowledge or experience."
Urban Muraus, Director General Bruker Alicona
Workshop-ready optical measurement systems
MetMaX operating software takes the µCMM and InfiniteFocus G6 measurement systems to a new level of metrological performance. 15 years of experience, know-how and technological advantages in the field of optical measurement enable a new way of using a high-precision optical measurement system, from which production especially benefits. The MetMaX algorithms take care of this process for them.
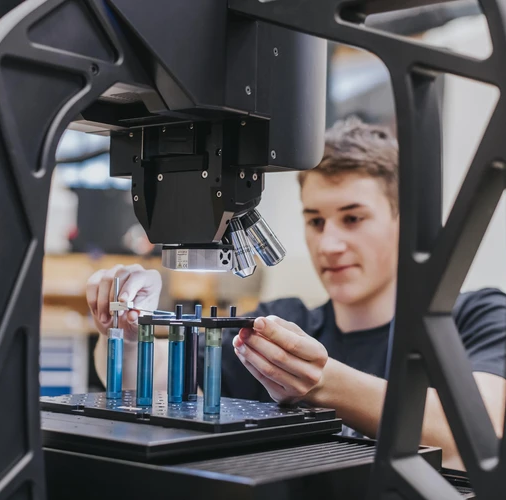
This means that µCMM and InfiniteFocus G6 are no longer "just" measuring devices for high-precision measurement of complex geometries based on a solid area measurement principle, but also planning and reporting measurement systems.
The availability of individual features depends on the system configuration.


